Solar panels look complicated. After all, the technology that goes into their creation is some of the most sophisticated in the world. But don't let that intimidate you. Setting up a solar panel system and getting one step closer to energy independence is well within your reach.
Solar technology is now accessible and affordable for residential and recreational uses. It's not just for commercial or industrial purposes anymore. You can install solar panels to back up your home in a blackout. You can go off-grid or power your RV appliances. It saves you from power outages and skyrocketing utility costs.
Follow this step-by-step guide to kick off your own personal solar revolution.

1. Calculate Your Power Load
Calculate the total power needed from your solar panel system . A home backup system has different power needs. A small van or camping trip uses much less energy.
Check each device and appliance you want to run. Find the wattage required in the instruction manual or product label. Calculate watt-hours by multiplying power rating with runtime.
According to New Zealand's MBIE, the average Kiwi household uses 7,100 kWh per year. This averages about 592 kWh each month. Look up your energy consumption on your recent utility bill. This shows how you compare.
Your energy consumption shows how much power your household needs. For home backup during a blackout, restrict electricity usage. Focus on essentials like lighting, a freezer, or a fridge.

2. Choose Your Solar Panel Array
When choosing the suitable solar panel array for your home, there are a few things to know. First, you must determine the system size that will sufficiently meet your energy demands. The more electricity demand you have, the more panels you'll require. However, this equation also depends on your solar panels' production ratio.
No system will have a direct 1:1 production ratio. Instead, an array of 10kWh may produce more or less depending on the conversion efficiency, peak sunlight hours, etc. The production ratio is the estimated kWh of the array divided by the array's total wattage. The average is between 1.3 and 1.6.
Here's an example: an EcoFlow 400W Portable Solar Panel. It supplies energy for the average New Zealand household.
System size (annual wattage) / production ratio / panel wattage (W) = Number of panels
Number of panels = 7,100 kWh / 1.3 / 400W ≈ 14 panels
3. Select the Solar Panel Type
There are three primary types of solar panels: monocrystalline, polycrystalline, and thin film. Each has advantages and disadvantages. Solar panels can have varying designs, too, including rigid, flexible, or portable. You'll need to decide which types and designs suit your needs.
Monocrystalline, Polycrystalline, or Thin Film
- Monocrystalline consists of a single crystal of silicon. This type of photovoltaic panel has the highest efficiency ratings and the longest lifespan of the three solar technologies, but they are the most expensive. The EcoFlow 400W Portable Solar Panel is an example of monocrystalline technology with a conversion efficiency rating of up to 23%.
- Polycrystalline panels comprise numerous tiny crystals called "grains." They cost less, partly because they're simpler to make, but they also have lower efficiency ratings (13–16%) and tend to be less portable.
- Thin film solar panels feature thin layers of photovoltaic material on a sheet of glass, metal, or plastic. They are smaller, lightweight, and portable but less efficient, with conversion efficiency ratings typically around 7–18%.
Rigid, Flexible, and Portable
- Rigid solar panels are ideal for permanent installations that don't require the panels themselves to be portable. Rigid solar panels tend to be the most durable in any weather conditions. If you are roof mounting them at home or on an RV, they typically require you to drill holes for installation.
- Flexible solar panels can curve to almost 250°, making them ideal for small van and camper roofs with less surface area. They are lightweight, but the industrial adhesive used to "mount" them might not be enough to keep them affixed in severe weather conditions.
- Portable solar panels don't require a permanent installation. Instead, portable solar panels feature foldable, lightweight designs that you can set up anywhere. The setup is simple, and you can move the panels throughout the day to ensure you capture the most available sunlight.

4. Select the Portable Power Station
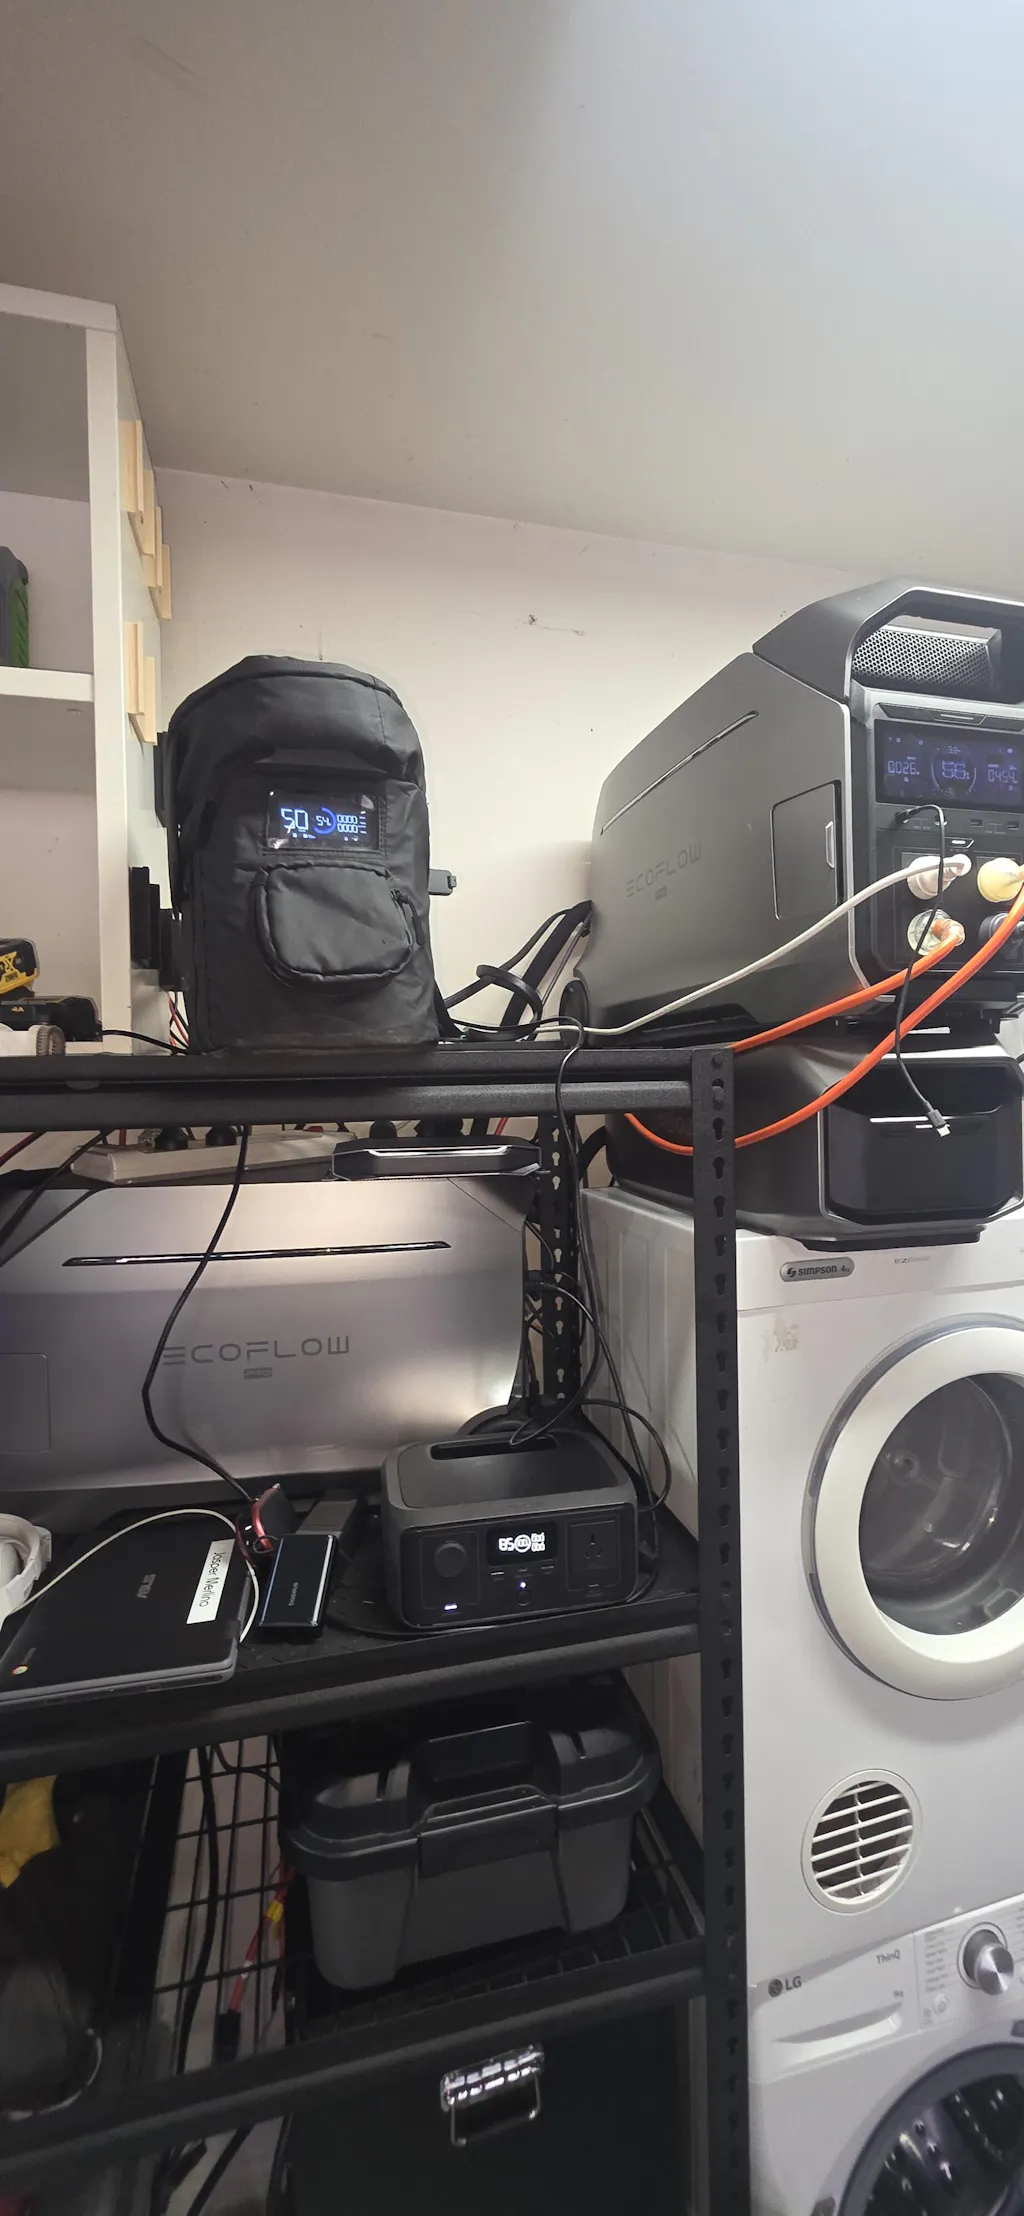
Portable solar panel systems store energy in a power station. These stations convert solar power into electricity. They store it in a solar battery for later use.
If not using a portable power station, common solar batteries exist. These include lead-acid or lithium iron phosphate.
Lead-acid batteries are more affordable but far less durable. Lithium-ion batteries are higher priced but lighter and longer lasting. Lithium-ion technology also has deeper cycles, meaning a longer lifespan and more efficient energy storage.
Ensure your battery is compatible with your solar panels. Solar panels and power stations don't have universal designs. Panel connections may not work with your portable power station. Buying your entire system from one manufacturer is best. This avoids frustrating compatibility issues.

5. Purchase the Balance of System
Every piece of your solar system that isn't your panels is part of the balance of system. These components allow you to create a complete solar panel system .
The components may include:
- Charge controller, which measures and maintains a steady voltage flow into and out of batteries to keep them from overcharging
- Inverter for turning DC into AC
- Wires
- Mounting system
- 12-10 ring terminal
- 20A blade fuse and relays
- Battery bank
- Battery charger
Some new solar panel systems simplify installation. EcoFlow Solar Generators and Portable Power Stations are examples. They eliminate buying components separately. For robust off-grid systems, EcoFlow Power Kits are ideal. They contain a charge controller and inverter. This saves space and hassle in one power hub.
Once you have your solar panels, portable power station, and balance of system (if required), you're ready for installation.

6. Gather the Necessary Tools and Components
Besides the solar panel system , you'll need the following tools for a successful setup:
- Wire stripper
- Wire crimper
- Screwdriver
- Battery-operated drill
- Fuses

7. Understand How Solar Panels, Charge Controller, Battery, and Inverter Work Together
Before you start mounting and wiring, it's best to grasp how the parts work together.
Any solar panel system has four components: inverter, battery, panel, and charge controller. The solar panel harnesses power from sunlight. DC power from panels is stored in a solar battery. It first passes through the charge controller. This prevents overloading the battery. The charge controller ensures battery life and safety.
The inverter connects to the battery and charge controller. It converts direct current (DC) into alternating current (AC). AC is household electricity used by most appliances.
If you're building your solar panel system from scratch, you should protect each connection with a fuse. Place a fuse between the solar panel and charge controller, the controller and the battery, and the battery and inverter. Place each fuse on the positive wires of each connection.
Some systems, like EcoFlow DELTA solar generators, simplify the process. They have built-in charge controllers and inverters. This eliminates complicated setup.

8. Mount the Solar Panels
Several ways to install solar panels exist, but people generally choose ground, roof, or pole mounts.
For a ground mount, panels are on an angled metal construction. This picks up the most rays as the sun moves. This setup doesn't need leveling like roof-mounted panels. You can adjust ground mounting to always face the sun. Ground mounting works well for large systems. It is easier to access and more economical. However, this setup needs extensive land for fixed mounts.
Most New Zealand homeowners choose roof mounting. Solar panels angle toward true north for maximum sun exposure. New Zealand is in the Southern Hemisphere. North-facing roofs get the most sunlight all year. The advantage is a "set it and forget it" approach. You generate power without thinking about it. It only uses space on your roof. The disadvantage is drilling holes. They are also hard to clean, being on the roof. However, rain usually helps clean them.
Pole mounting uses skyward-facing, 90-degree tilted panels. These attach to the sides of poles. You can also do a top-of-pole mount. Panels sit just off the pole top, not on the side. Multi-pole ground mounts are another option. This is ideal for a bank of panels, not just 1-4.
If using multiple solar panels, connect them now. Choose a series or parallel connection. This increases either voltage or current value.

9. Set up the Inverter (Maybe Optional)
With your panels mounted, it's time to connect them to your inverter.
Bolt the ANL fuse to the positive battery cable. Plug the inverter's 12V plug into the NOCO GC018 cable socket. This creates connections between the battery and the inverter. Connect positive cables from inverter and battery to the battery's positive terminal. Do the same with the negative cables.
If your inverter has an LED indicator, it should be blinking or solidly green at this point.
Now, the charge controller. Find battery terminals on the plug side. Insert the stripped negative battery cable. Connect it to the battery. A second green light should appear. This indicates the charge controller is online.
You can skip this step if buying a solar generator. The EcoFlow DELTA Pro 3 has a built-in inverter and controller.
10. Connect the Solar Panels to the Battery
With everything mounted and wired, it's time to connect the solar panels to the charge controller or power station. The precise setup will depend on whether your PPS has a built-in charge controller.
You need to manually connect your solar panels if you don't have a built-in charge controller. The PV panels have the same positive and negative ports as your inverter, battery, and charge controller. Do the same as before and connect the Universal Solar Connector inline fuse to the positive solar panel cable. Then connect that cable to the charge controller adapter and repeat the same for the negative side. Plug those into your charge controller.
Bingo! A third green LED indicator should light up.
After connecting everything, do a test run. Verify that the solar panels are working correctly. You don't want to install the system with a storm coming.
Conclusion
To get off the grid, you almost have to build your own. But as you can see from this guide, installing a solar panel system yourself is more than possible. Whether you buy a plug-and-play solar panel system from a reputable manufacturer like EcoFlow — or elect to DIY.
New Zealand has excellent solar resources. This is especially true across the North Island and northern South Island. Electricity prices keep rising for Kiwi households. Now is a great time to control your energy use. With quality, compatible components, you'll have solar power quickly.